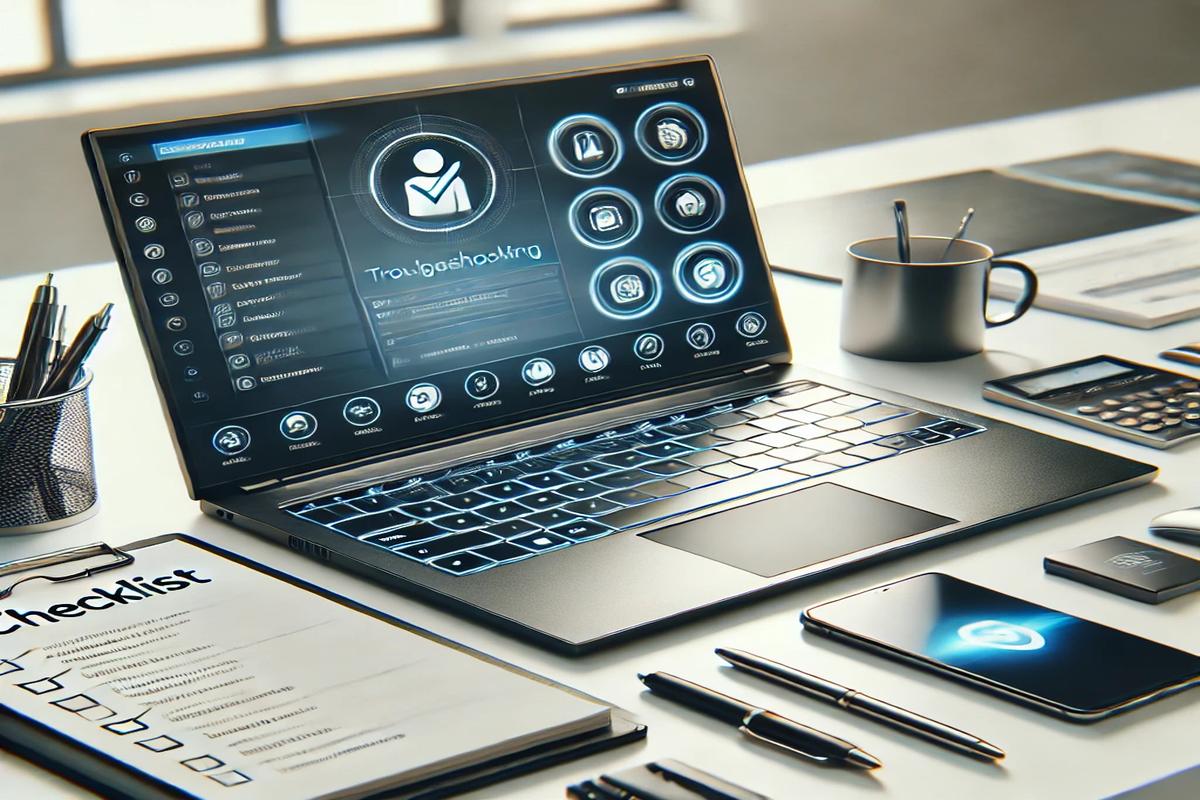
Remote troubleshooting is a convenient way to resolve technical issues without requiring in-person assistance. Whether you’re working with a professional IT technician or a support team, proper preparation of your laptop is essential to ensure the process is efficient and successful. Follow this comprehensive guide to get your laptop ready for remote troubleshooting.
Why Proper Preparation Matters
Preparing your laptop beforehand saves time, protects sensitive information, and ensures the troubleshooting session runs smoothly. By completing the following steps, you’ll provide the technician with a clear pathway to identify and fix your issue quickly.
Step 1: Back Up Your Important Data
Before initiating any remote troubleshooting session, back up your critical files and data to prevent any accidental loss.
Options for Backing Up Data
- External Hard Drive: Use an external hard drive to create a local copy of your important files.
- Cloud Storage Services: Services like Google Drive, Dropbox, or OneDrive are excellent for storing files securely.
- Automated Backup Software: Consider using backup software that schedules automatic backups regularly.
Ensuring your data is safe minimizes risks during troubleshooting.
Step 2: Install or Update Remote Access Software
Technicians typically require remote access software to diagnose and fix your laptop. Popular tools include:
- TeamViewer
- AnyDesk
- LogMeIn
How to Install and Set Up Remote Access Software
- Download the software from the official website of your chosen tool.
- Follow the installation prompts to set it up.
- Share the necessary access codes or login credentials with your technician securely.
Keeping your remote access software updated ensures compatibility and avoids unnecessary delays.
Step 3: Perform Basic Maintenance
Some preliminary checks and maintenance can help identify potential issues or improve performance.
Actions to Take
- Restart Your Laptop: Restarting clears temporary files and resets system processes.
- Run a Disk Cleanup: Use built-in tools like Disk Cleanup (Windows) or Storage Management (Mac) to remove unnecessary files.
- Check for Updates: Ensure your operating system and key software are up to date.
- Scan for Viruses: Run a full antivirus scan to identify and remove malware.
By addressing these common issues ahead of time, you may even resolve minor problems without additional troubleshooting.
Step 4: Document the Issue Clearly
Technicians rely on accurate descriptions to diagnose issues. Providing clear and detailed documentation can save significant time.
What to Include in Your Documentation
- When the Problem Began: Note the date and time the issue started.
- Error Messages: Write down or screenshot any error messages.
- Recent Changes: Mention any new software, hardware, or updates.
- Steps to Reproduce the Problem: Explain how the issue occurs.
The more detailed your information, the quicker the technician can pinpoint the issue.
Step 5: Check Your Internet Connection
A stable and reliable internet connection is critical for successful remote troubleshooting.
Tips to Optimize Your Connection
- Test Your Speed: Use online tools like Speedtest.net to check your internet speed.
- Switch to a Wired Connection: If possible, use an Ethernet cable for better stability.
- Restart Your Router: Restarting your modem or router can resolve minor connectivity issues.
- Limit Background Usage: Close applications or devices using bandwidth, such as streaming services.
A strong internet connection ensures the remote session proceeds without interruptions.
Step 6: Secure Your Laptop
Protect your personal and sensitive information before granting remote access.
Steps to Enhance Security
- Close Confidential Files: Ensure no sensitive documents or tabs are open during the session.
- Disable Auto-Login Features: Temporarily disable auto-login to prevent unauthorized access.
- Use Temporary Credentials: Provide a temporary password or session key for added security.
- Monitor the Session: Stay present during the troubleshooting process to oversee the technician’s actions.
Taking these measures will protect your privacy while allowing the technician to work efficiently.
Step 7: Ensure Your Laptop Is Charged
Low battery levels can interrupt the troubleshooting session, causing unnecessary delays.
Best Practices
- Plug in your laptop before the session begins.
- Ensure your charger is functioning properly.
- If you’re using a portable setup, keep a power bank on hand.
Step 8: Communicate Effectively with the Technician
Clear communication is essential for a successful troubleshooting session.
How to Communicate Effectively
- Provide Precise Information: Be clear and concise about the issue.
- Ask Questions: Don’t hesitate to ask about the process or any unfamiliar terms.
- Follow Instructions: Adhere to the technician’s guidance during the session.
Maintaining an open line of communication helps resolve issues faster and more effectively.
Step 9: Post-Troubleshooting Steps
After the session is complete, take the following actions:
- Test the Fixes: Verify that the issue is resolved by testing your laptop.
- Re-enable Security Features: Reapply any security measures you disabled.
- Provide Feedback: Share your experience with the technician or support team.
Conclusion
Preparing your laptop for remote troubleshooting is an essential step in ensuring an efficient and secure session. By following these detailed steps—backing up your data, installing remote access tools, performing maintenance, and securing your system—you can streamline the process and maximize its effectiveness.
Remote troubleshooting offers a fast and convenient way to resolve laptop issues, and proper preparation ensures the experience is smooth and stress-free.


